In November of 2017, I began the first steps towards forming a student-teacher relationship with Her then Excellency, now Princess Adelhait Fuchs. Her Highness and I agreed to a trial-period of at least one year before we would formalize our relationship with a contract. In 2018 we agreed that we felt our relationship to be a good fit and so we began making preparations for my Companion Ceremony.
While there are variations of student-teacher ceremonies throughout the Knowne World, there are some traditions that seem to be most common. In addition to the tradition of a contract and the gifting of a belt or favor, there are often gifts exchanged between student and teacher. When planning for the ceremony began, I started to brainstorm a list of potential gifts for Her Excellency based on what I knew regarding her whims and preferences.
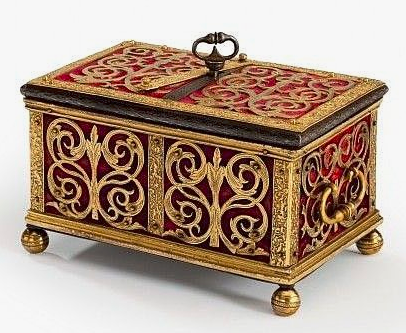
I came up with many ideas, but the one that seemed to stick was the idea of a painted jewelry box. This idea was originally inspired by Dame Emma West, who painted a mirror box in the style of a reliquary box from the Uppsala Cathedral, dated from the 12th century. Her Highness, Princess Adelhait, is well known for her love of shiny things – jewelry and accessories – so I knew this would be a gift that she would both appreciate and find useful.
Originally I planned to paint a mirror box that I had purchased previously at Fool’s War in 2017. However, at Pennsic 2018, Her Highness’s husband Count Christoph purchased her a larger mirror box from Egill’s Woodstuffs and offered it to me to paint instead.
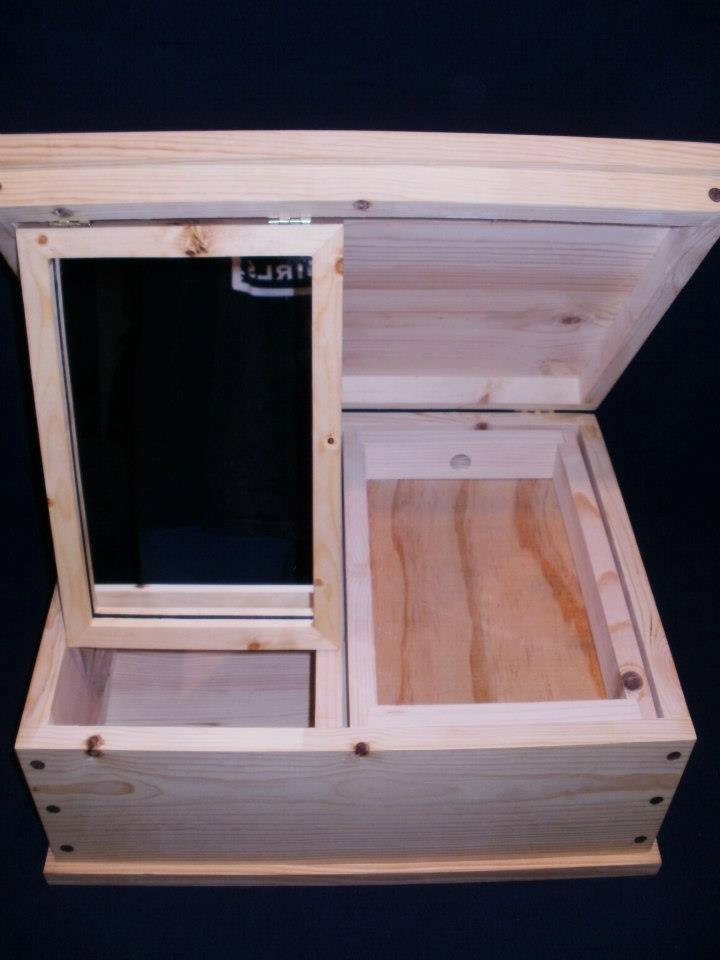
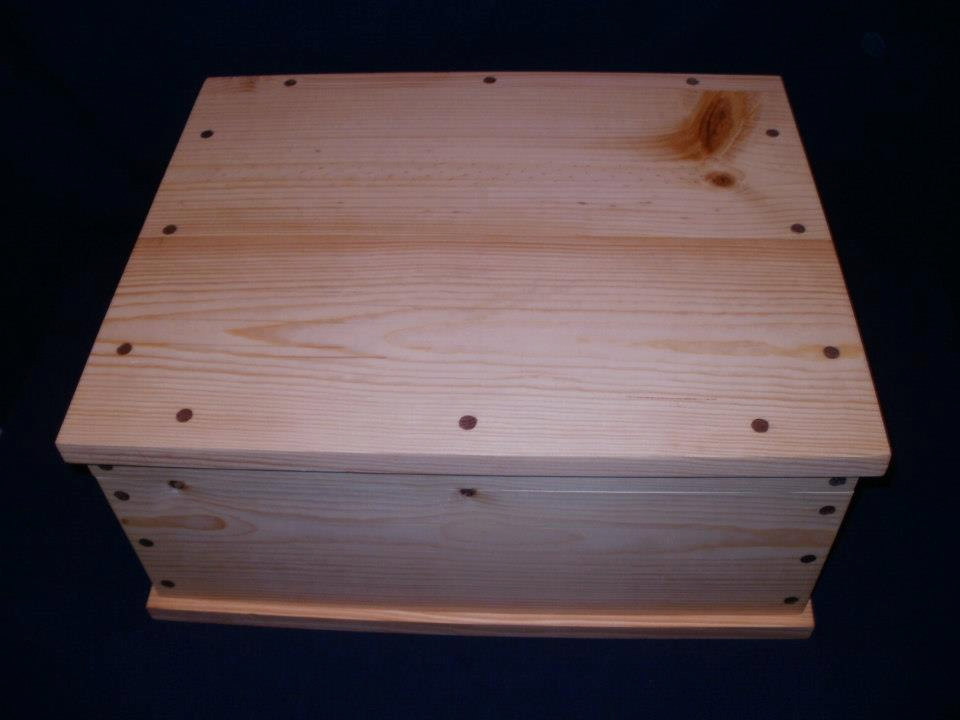
A picture of the mirror box, taken from Egill’s Woodstuffs Etsy page: https://www.etsy.com/shop/chuckjones
Before I began any work on the box, I sent a message to Dame Emma and asked her what steps she took in painting her box, what supplies she used, etc. She was incredibly helpful – as always – and so I followed her instructions exactly.
Next, I had to decide on a design that I wanted to use. For this step, I mostly browsed Pinterest since documentation was not of vital importance. I mainly needed visual inspiration and found plenty of examples under a search for “reliquary box”. I finally decided on the following design as inspiration since Her Highness’s persona is late period German.
After deciding on a design, I gathered my list of supplies and went to Michael’s to buy everything that I would need. I used very basic supplies for this project – nothing fancy – since this was my first time painting a box, a lot of the process would be trial and error. The first step was to gesso the entirety of the box. Gesso provides a white base layer so that the colored paints are not muted by the wood.

After painting the box with two layers of gesso, I decided to make stencils for my design. I love working with stencils – I use them for my fabric painting as well – because they allow for a precision in design that is rarely achieved when drawing or painting free-hand. I came up with two stencils that I used in various combinations on different sides of the box. These stencils were drawn by tracing a variety of circular shaped objects on a brown, paper grocery bag. Very fancy 😉
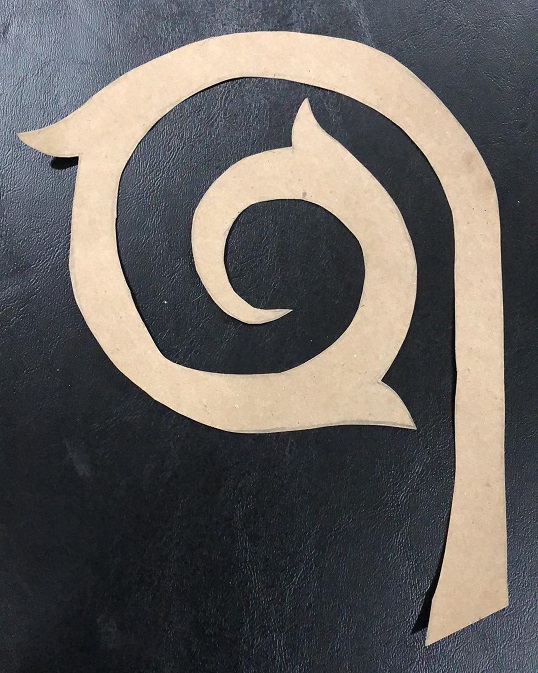

I spent a lot of time visualizing how I wanted the stencils to be arranged in order to get the design that I wanted. But once that lengthy process was complete, I started to trace the stencils directly on to the box using a regular pencil.

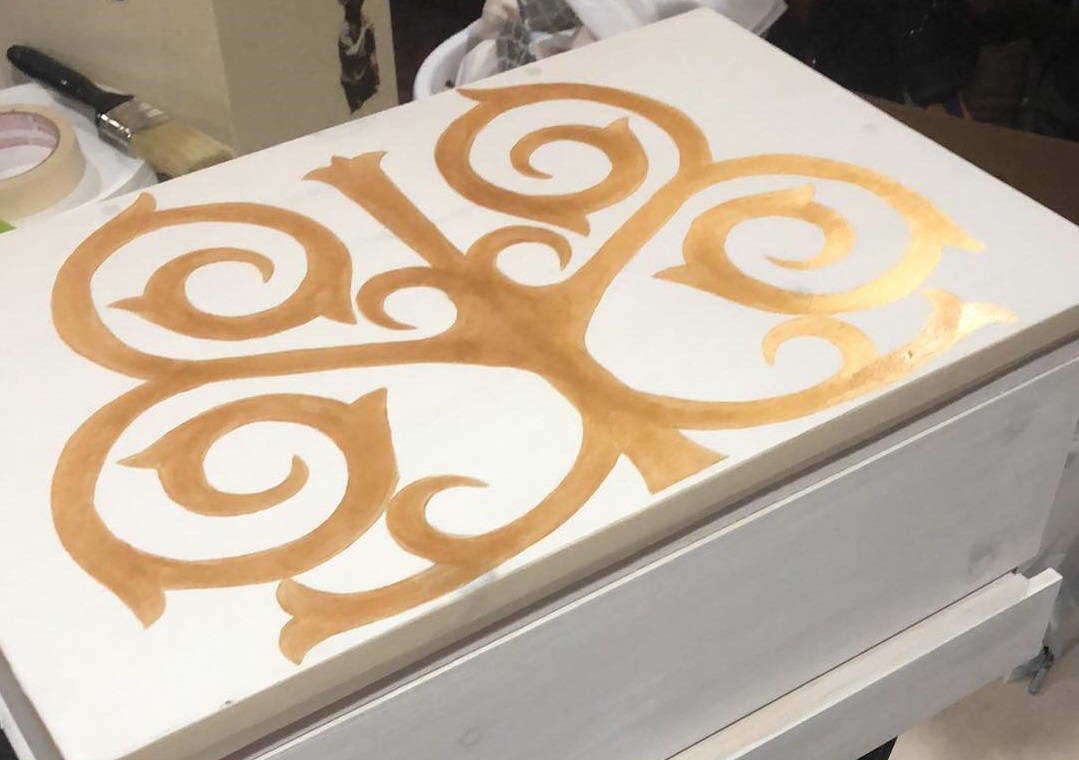
One the design was traced, I started to paint. Based on the box that I chose as my inspiration, I chose to work with only three colors.


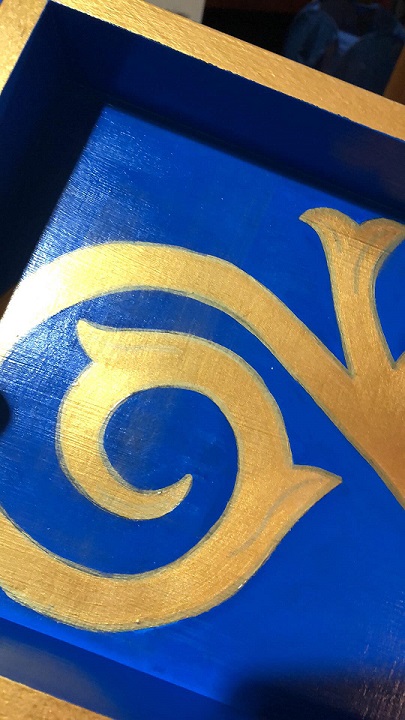
I started painting the gold first. I figured that if I went “outside the lines” with the gold, that would easily be covered by the blue. Covering blue with gold would not be as easy a task.

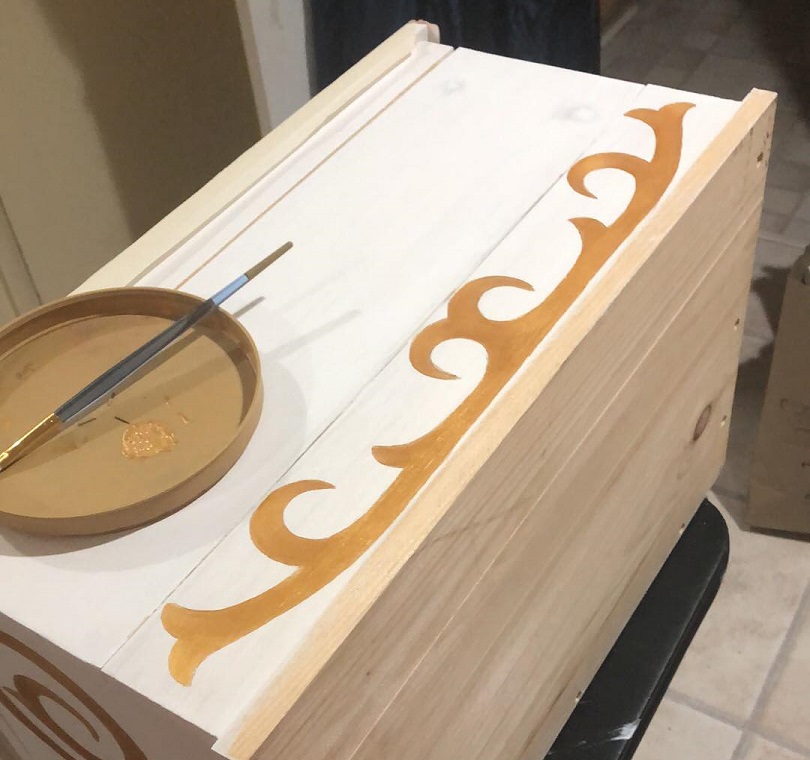
Once I started to paint the gold I realized that I was going to need multiple layers. You can see in the picture above how light the gold color was initially and how streaky the paint started with that first layer. In the end, I had to paint four layers of gold in order to get the color that I wanted to achieve.

Luckily, acrylic paint dries relatively quickly so it can be layered easily without large amounts of time spent wasted while waiting for paint to dry.
Eventually I did need to work in time to allow the paint to dry – this ended up being the trickiest bit. I really had to plan out what sides of the box I could paint and allow to dry, while still being able to work on other parts of the box. The box also had to be flipped and laid on its side to be painted more easily, so that had to be factored in as well. In the end, I came up with a very rigid schedule of which sides I could paint when – in order to allow time for the paint to dry in between layers and the box being laid on one side or the other. This became especially important when I began to paint the remainder of the box blue.
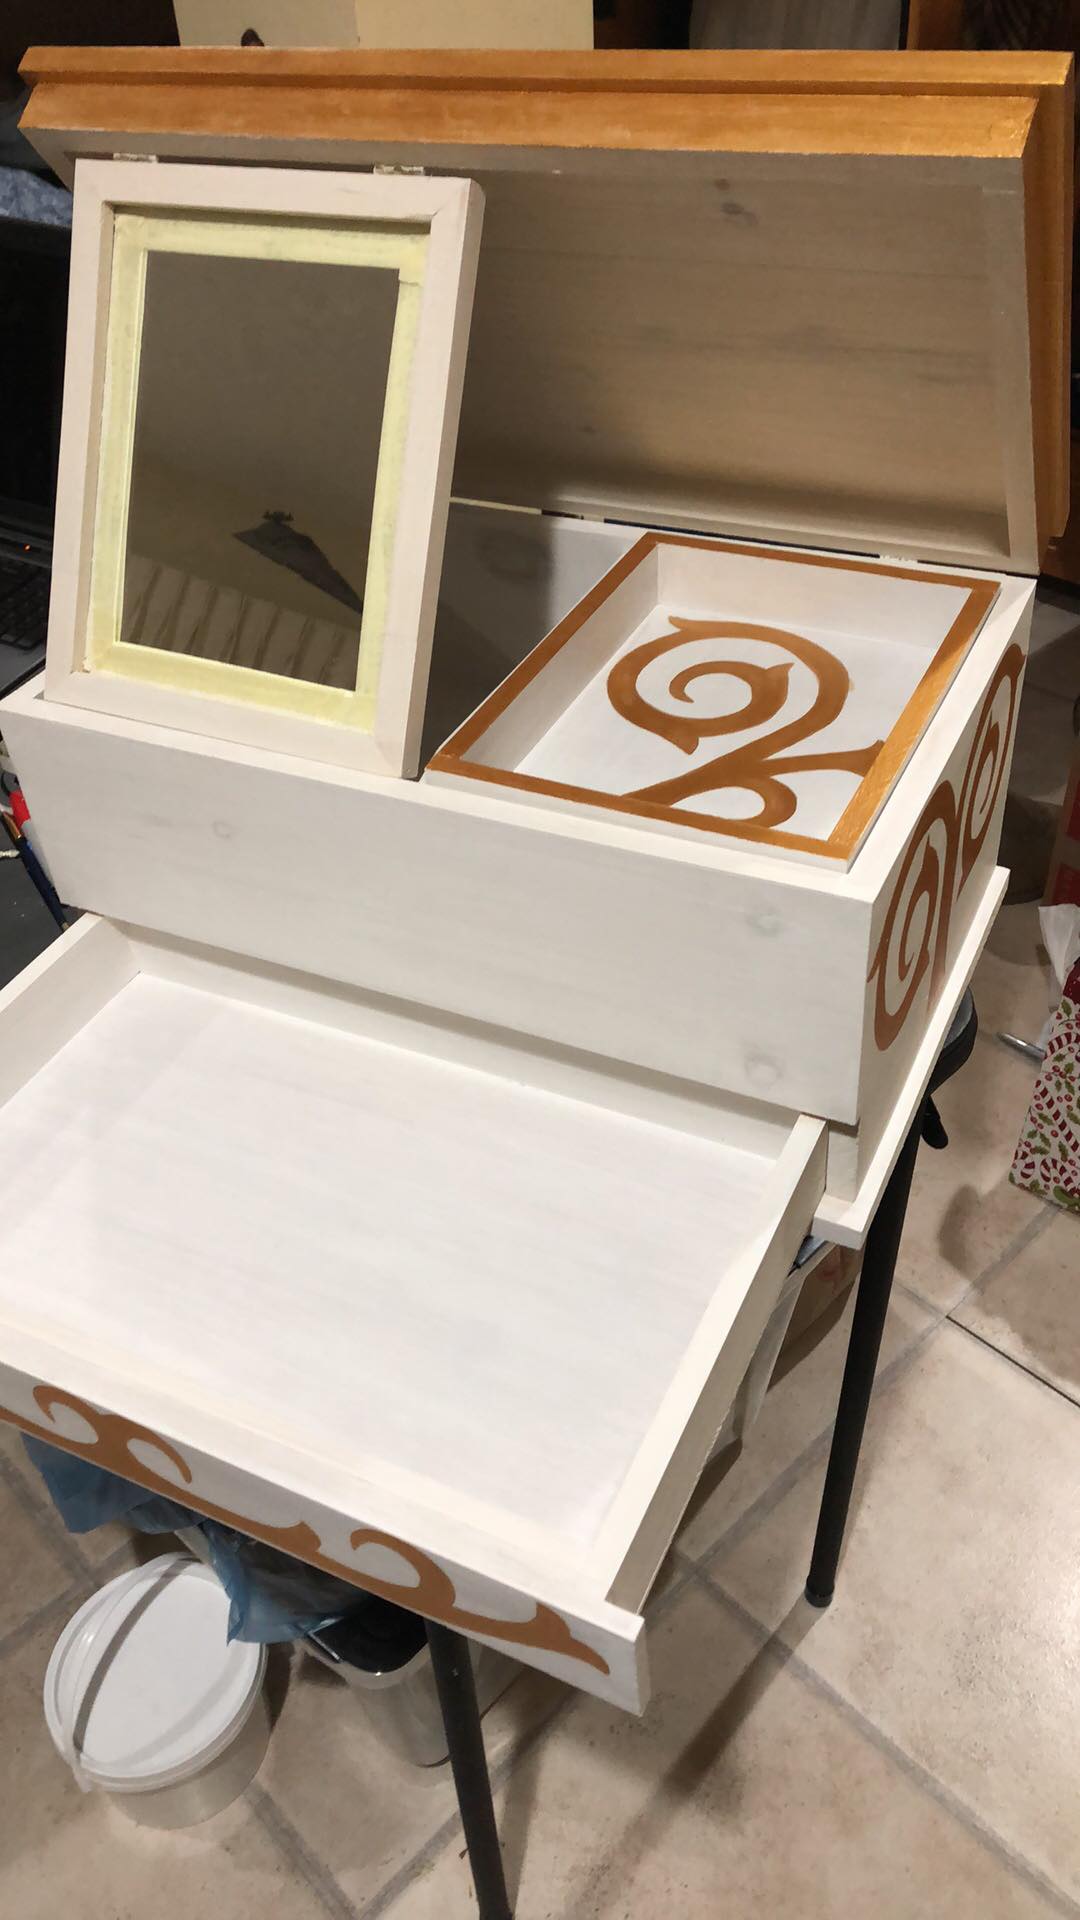
The first part of the box to be painted blue was the removable box that sits inside of the top layer, to the right of the mirror. This smaller box was my test piece for the blue paint, and I’m very glad that I was smart enough to do it this way, because the blue paint turned out to be very disappointing.

You can see in the picture above that the blue paint was quite streaky. It was also much thicker and darker than the gold paint, not allowing for layers in the same way. I’ll admit, I had a bit of a panic attack when I first used the blue paint. The gold had layered so well and then the blue looked awful! I reached out to a few friends with more painting experience, in addition to searching the internet for a solution. One specific solution that I found online suggested adding Titanium White as a semi-opaque. Luckily this was the exact color that I bought at Michael’s. I added a dollop of Titanium White to Disappointing Blue and it worked like a charm!

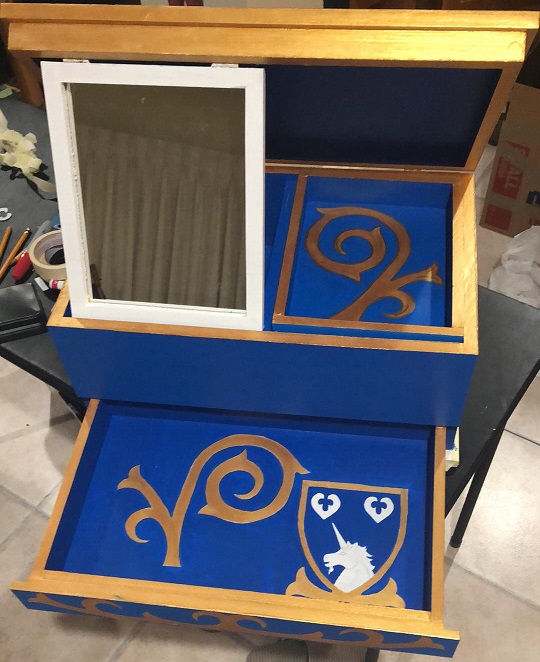
I was very happy with how the blue turned out and it only required two layers, as opposed to the four layers I had to paint with the gold color.

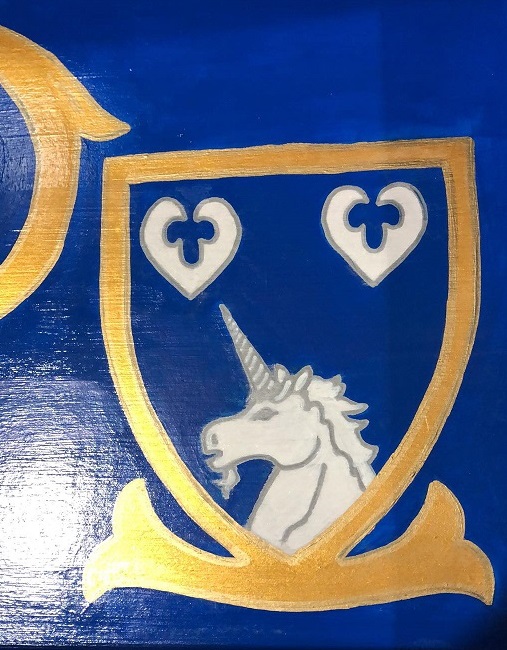
In order to personalize the box for Her Highness, I added her device to the inside of the bottom drawer.


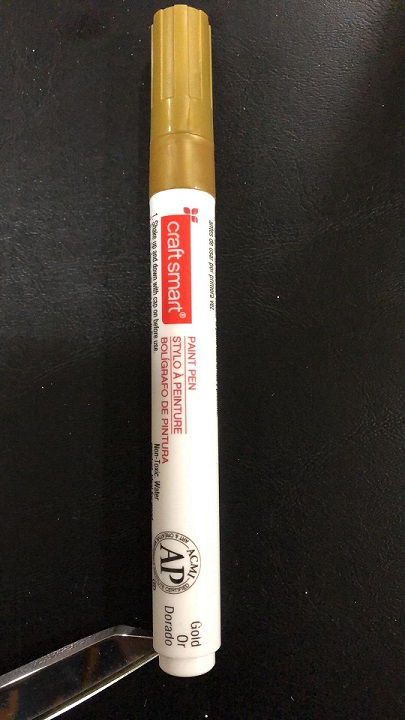
Once painting was complete, I used a paint pen to outline the gold motifs and add a bit of detailing. This cleaned up the line that was painted by brush.
After the outline and detailing was done, it was time to lacquer the box. This was a trial in itself. For the first attempt at lacquering, I purchased a can of liquid lacquer from Home Depot and attempted to apply it in strokes using a foam brush. This did not work well. It was difficult to regulate the amount of lacquer on the brush and the strokes were very visible to me. It was especially hard to apply inside the box, with the smaller sides and corners.

The liquid lacquer also caused a bit of a panic when I applied it to the bottom drawer over Sharpie, which I had used to outline the device, and it streaked horribly. I would never have guessed that lacquer could smear “permanent marker” but it does. Lesson learned!

When I saw the Sharpie start to streak, I set down the lacquer and stepped away for the night. The next morning I attempted to fix the streaking by painting over the first layer of lacquer. I am quite certain this is some kind of no-no in the world of painting wood, but I knew I would be applying another coat of lacquer later and it was the only way I could try and fix the problem that the lacquer had created.
After the Sharpie incident, I opted to go back to the store, purchase spray lacquer, and try that instead. Not only did it work much better, but it dried much more quickly and I was able to apply 2-3 coats, finishing the box nicely.
The final step was to add some words to the mirror. I had a friend translate Her Highness’s favorite quote from Mean Girls (a favorite movie of ours) into Latin: “You’re really pretty! So you agree, you think you’re really pretty?” – “Tu ed pulcherrima! Tum adsentis, tu putas te pulcherrimam esse?” I then used the gold paint pen to write this on the edge of the mirror. This definitely could have turned out better – I wish I had a smaller, gold paint pen to use, but I was unfortunately out of time and the lacquer incident had taken more time to resolve, leaving less time for this detail.

I applied a final coat of lacquer and then I was done!
I presented the box to Her Highness at Atlantia’s 12th Night event on January 12th.

Overall, I am very happy with how this project turned out. From start to finish, it took about two months to complete, though I was not working on it every day. It was my first time painting wood like this and while it wasn’t perfect, I managed to work around and fix most of the complications and mistakes that came up. It was a great learning experience and I already know how best to tackle another project like this in the future!
