In early October my husband asked me if I could paint a prize box for our friend, Lord Matthew of Norfolk, who was fighting his prize fight to advance to rank of Free Scholar within the Academie d’Espee of Atlantia.
Even though I don’t have any advanced skills in regard to shading or dimension, I really enjoy painting so I was happy to do it. I surfed Pinterest for some inspo pics and settled on a design that would feature the letter “M” – for Matthew – and the colors yellow and black – for his heraldic device.
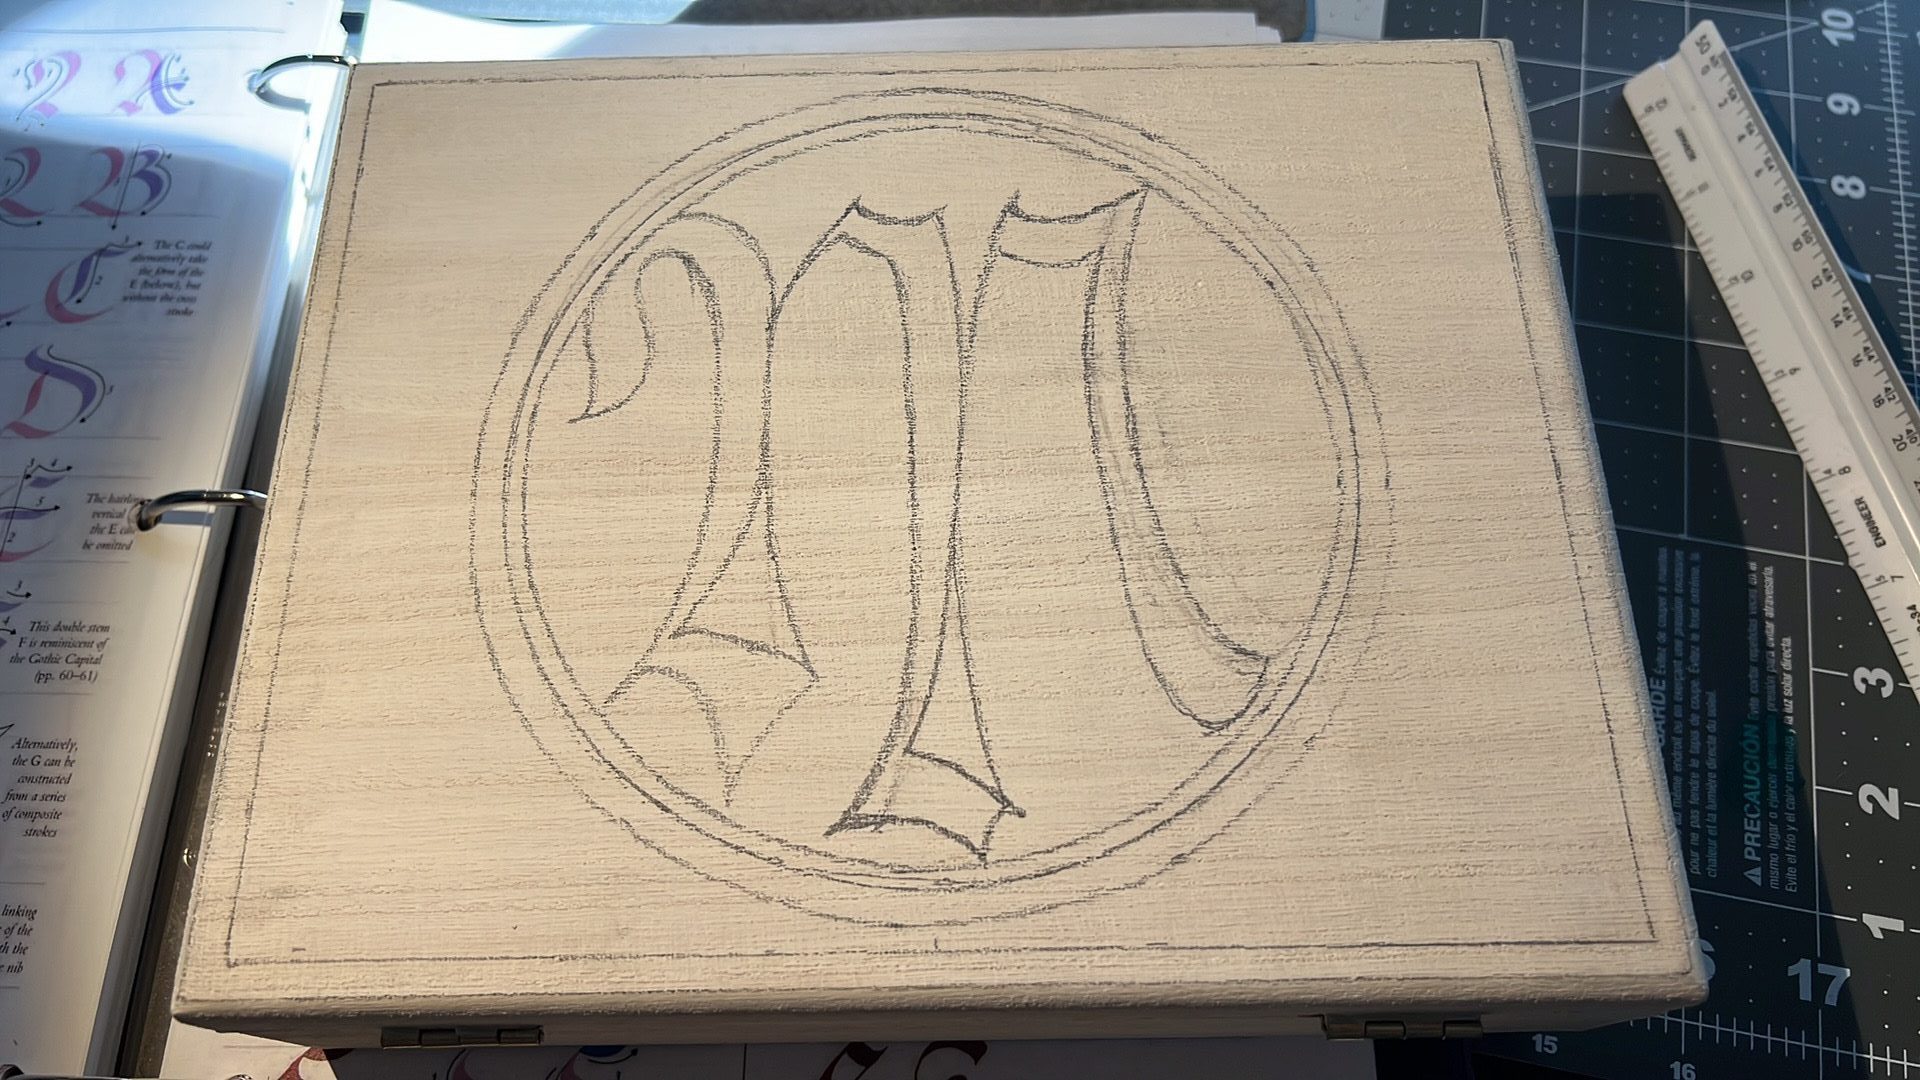
I started by creating a stencil for the letter M. I used The Art of Calligraphy: A Practical Guide to the Skills and Techniques by David Harris to choose a script that I liked.


After my husband sanded the box smooth, I drew the design I wanted in pencil on the lid of the box. Then I covered the entire box with acrylic gesso. Gesso provides a base layer that will prevent acrylic paints (which are water based) from absorbing directly into the wood and help keep pigments bright.
One thing that I’ve had to incorporate into painting is good time management! It’s important to plan well so that there is plenty of time for the layers of paint to set and dry properly. I like to err on the side of caution and allow 12-24 hours between layers.
After allowing the gesso to dry I went in with yellow acrylic, which covered the majority of the box. Another thing that I’ve learned about painting – and from my husband, who has way more time and experience with painting than I do – is that some colors are more finicky than others. Yellow and white are especially difficult because the pigmentation is very thin. These colors can often be streaky and require more layers.

After painting an initial layer of yellow, I decide to go in with a base of white acrylic inside of the circle (seen above) in order to make the yellow there pop a bit more. The first layer just looked a bit too drab and flat. In retrospect, I wish I would have put down a layer of white acrylic first everywhere on the box that I planned to paint yellow.
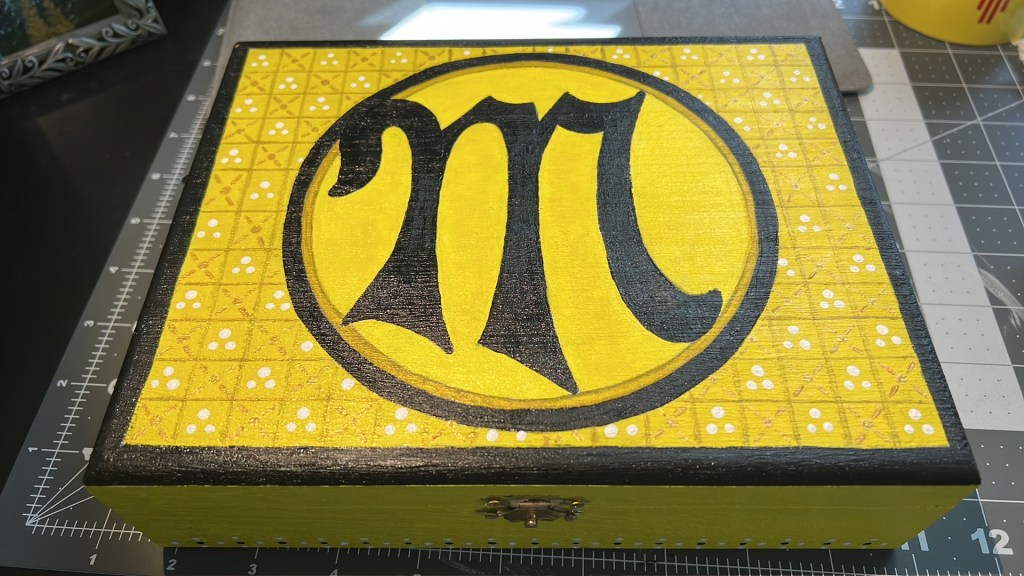
Next, I painted part of the circle and the letter “M” black and added some black trim to the edge of the box.

Next, I created a grid on the lid of the box painting along the edge of a ruler.

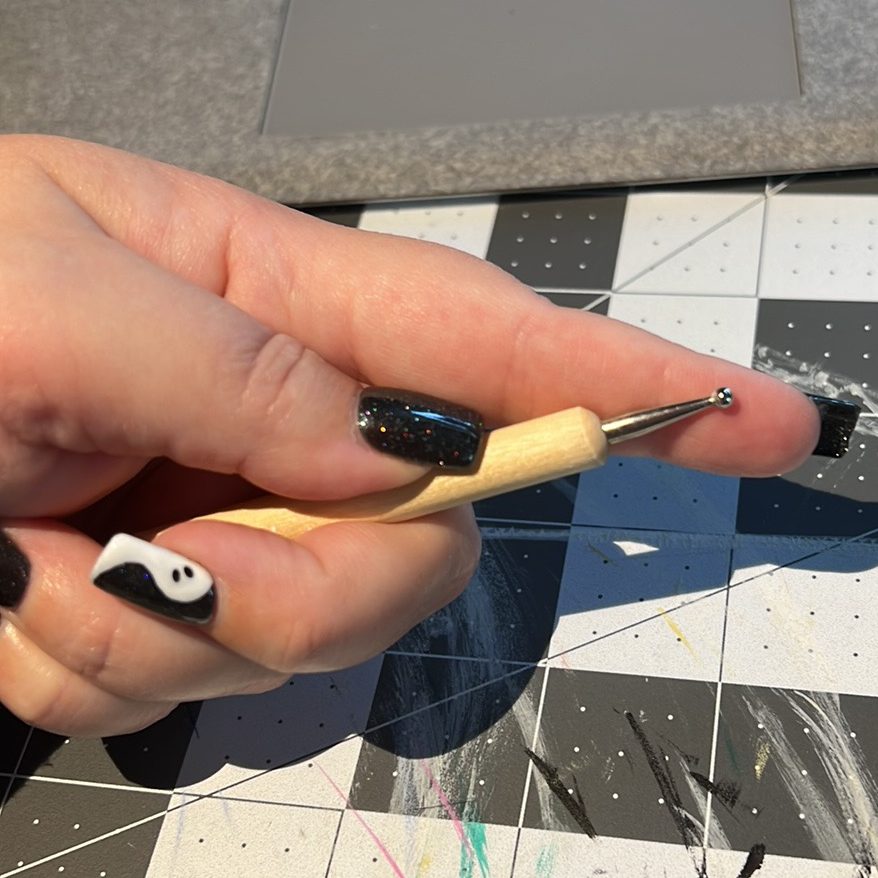
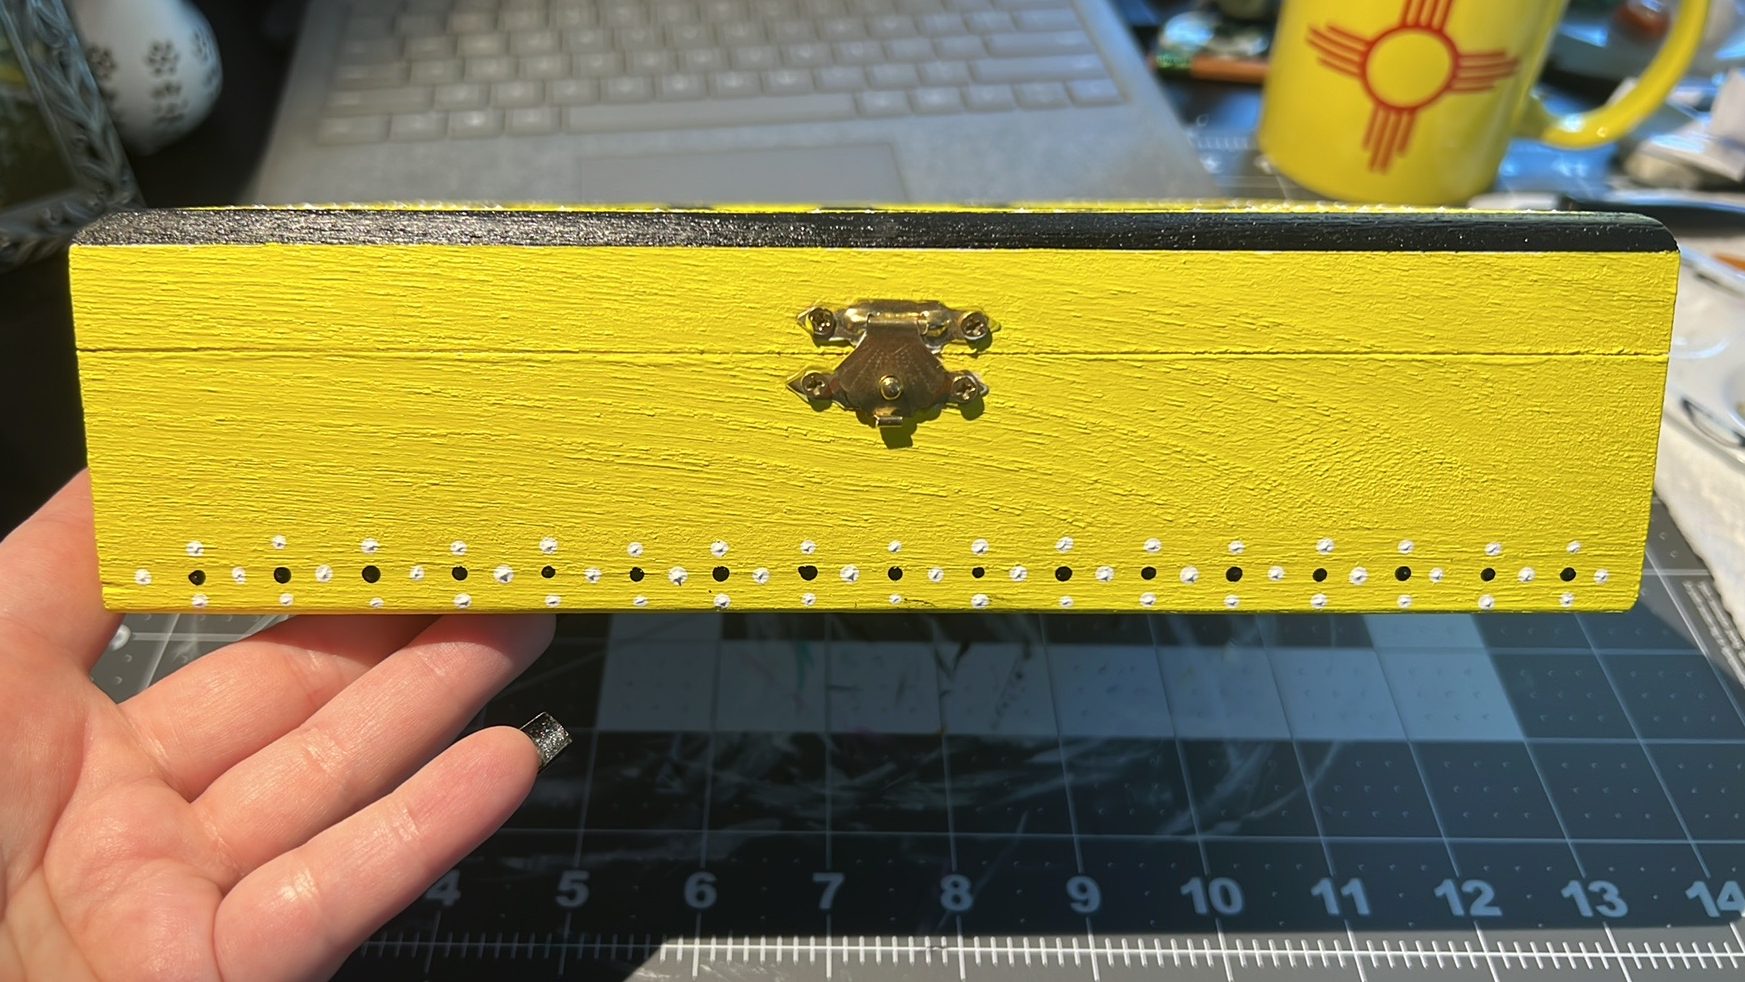
I then took a dotting tool/ball stylus and created a design in black, white, and gold acrylic on the lid and along the bottom edge of the box.
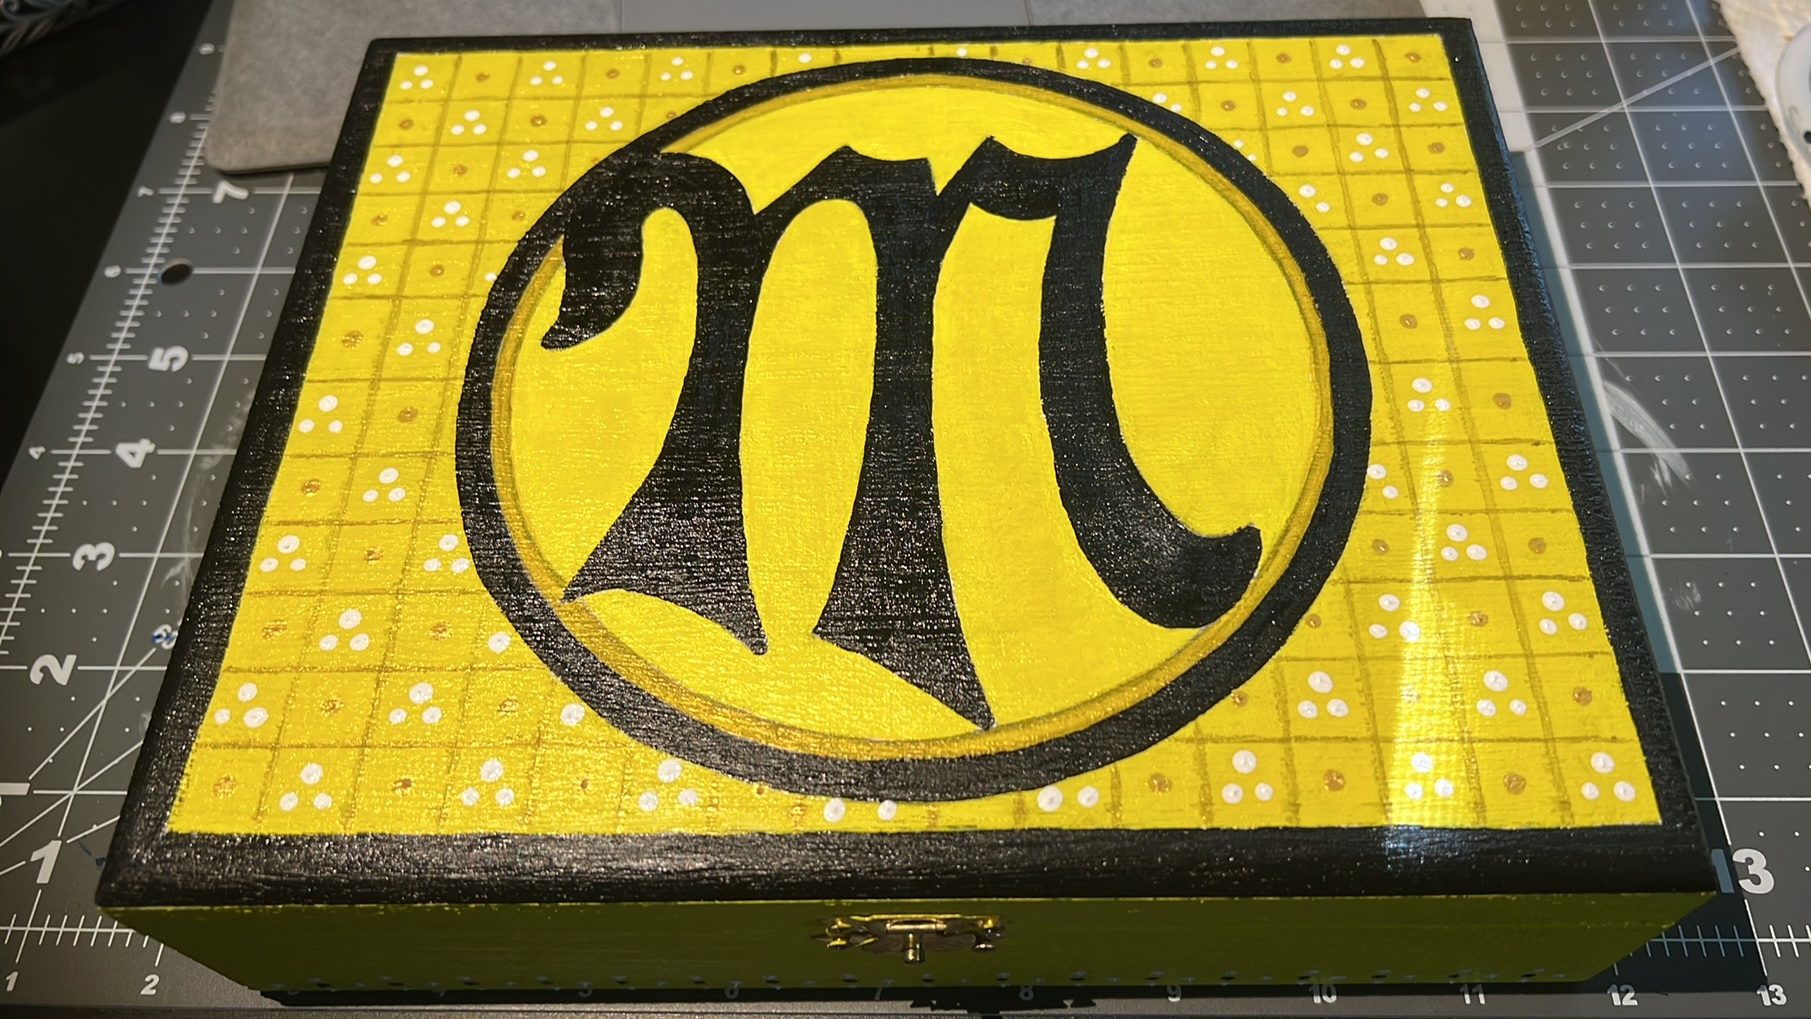
The last element I added was some diagonal lines with the gold dots using a small, angled brush.
The last step of any painted box is to seal it in order to protect the paint and add some shine. I used a high gloss spray lacquer from Krylon .
I really enjoyed this little project. Painted boxes are a fun way to enhance gifts and add to the background/ambience of events and ceremonies in the SCA.

One thought on “A Rapier Prize Box for War of the Wings”